Call Us @ 6288 4122
Fax: 6288 4655
Email: gwasia@singnet.com.sg
Products
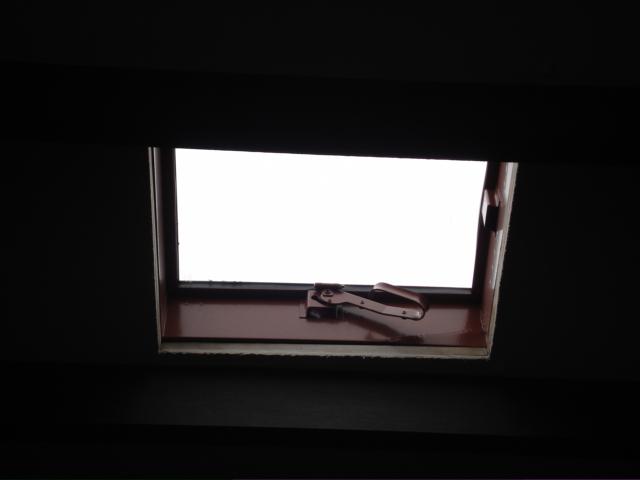
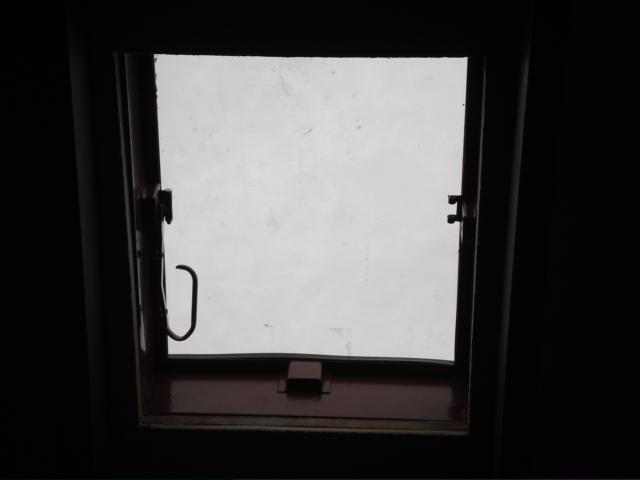
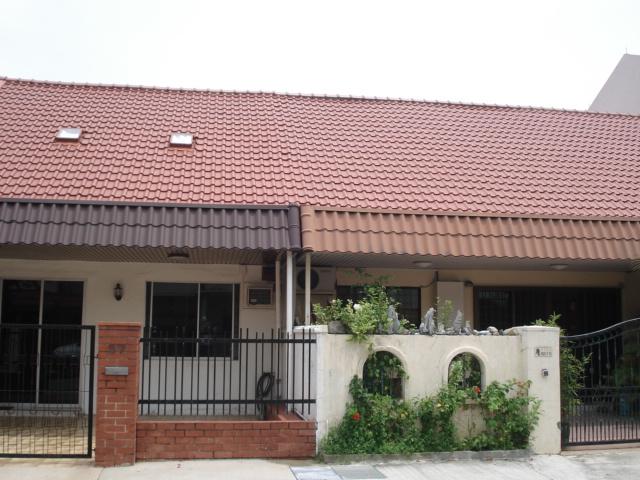
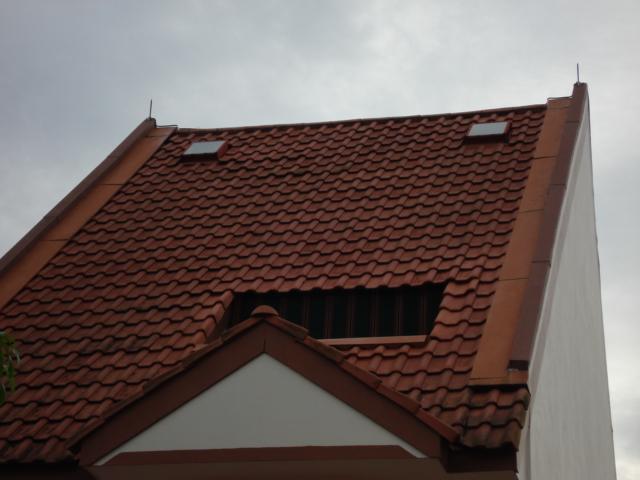
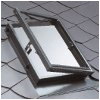
Metal Skylight


Technical Data
To calculate the optimum arrangement with regard to coverage, all you need is the geometric dimensions of the tiles i.e. - coverage width - side gutter ( = tile width divide by coverage width)

If the roof tiles or shingles have a coverage width of 190 - 260 mm, the equation 3 x coverage width minus 1 x side gutter must give a value between 540 and 605mm (this corresponds to the range of adjustment of both frame bridge, see Figure 6) so that the window can be installed roughly symmetrically in the roofing material. Symmetrical means that the roof tiles or shingles cover the side parts of the window evenly on the left and right.

If this calculation gives a value larger than 605 mm, the window will have to be covered non-symmetrically. In this case, on the side of the window should be positioned as close as possible to a vartical tile row and the frame bridge should be shifted as close as possible towards the window body. The other side should be covered with tile offcuts or half tiles.

The tile offcuts can be calculated using the following simple equation: 3 coverage width minus 540 mm
For roof tiles with a coverage width of 300 mm, the equation 2 x coverage width minus 1 x side gutter always gives a value between 540 and 605 mm (this corresponds to the range of adjustment of both frame bridges, see Figure 6).

Step1 — Determine the position of the window on the roof covering - if possible between two rafters. Step 2 — Position the window so that the roof covering meets with it as accurately as possible onthe left and right.

Step 3 — Lay the support batten against the upper edge of the lower tile row and fasten to the roof substructure (rafters, cross battens) from each side. Step 4 — As a rule, an additional seating batten should be fastened in place at a separation distance of 560 mm from the support batten (install same way as the support batten). The cross-section of the support and seating battens is always the same as the cross-section of the roof battens used (see above). Step 5 — Cut out the sub-structure to match the skylight opening. Step 6 — Lay the window flush onto the supporting batten. Shape the lower fastening bands to match the supporting batten (sub-structure) and fix in place with two nails. (Figure 2) Step 7 — Shape the pleated lead apron to fit the roofing profile, working from middle outwards

Step 8 — Lay out the roof covering around the window. In doing so, push the foam plastic wedge outwards and after each tile row on the sides, make a vertical cut of max. 20 mm (Figure 5). (can be omitted for corrugated roofing)

Step 9 — The two water repellent frame bridges should be installed as close as possible to the roof covering. To do this, the location of the pre-installed frame bridges can be changed by displacing them sideways. (Figure 6) Afterwards, bend the retaining clips over.
Special note regarding skylights that open to the sideIn the case of our skylight models that open to the side, it is no problem to change the positions of the window stop an the grip; simply disassemble the parts, the hinges have already been pre-installed. All you need is two 10 mm spanners.